Start
I. Cutting the wood:
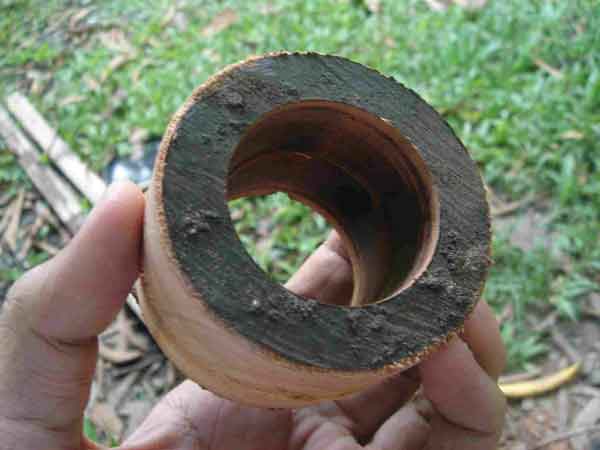
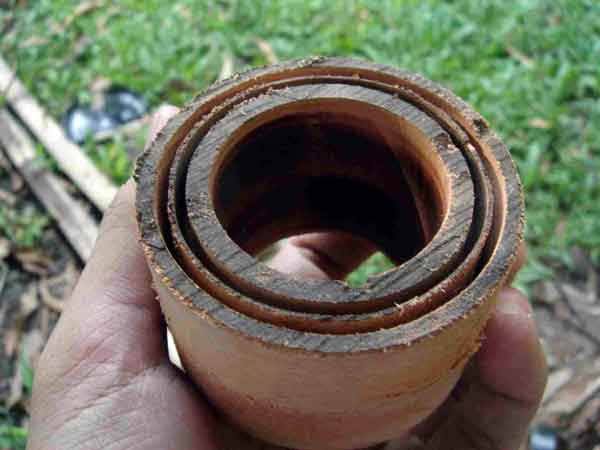
Prepare the wood to be cut. We want to make a rough cut out of the chambers shown below.
Mark the sides of the wood to avoid confusion later. I labeled it as “out” and “in” indicating the side which will face outside/inside when the chamber is finished. Drill the guide hole first using the 6.5mm drill bit. Observe common drilling safety procedures [e.g tighten the chuck in at least three positions, check the alignment of the bit if it fits straight.]
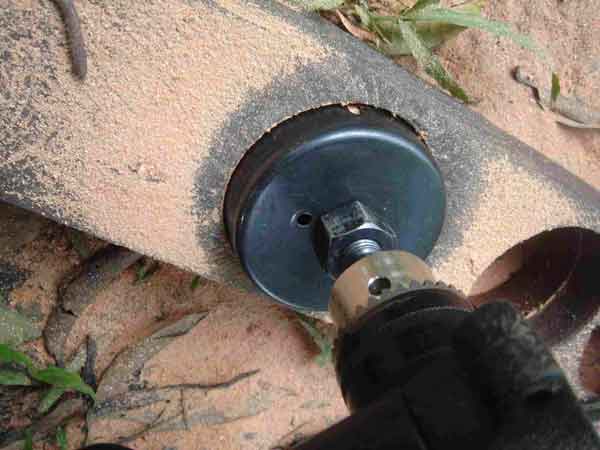
After the guide hole, mount the largest holesaw, mine was 3”. Observe if the holesaw is well aligned. Check if the guide bit doesn’t wobble. Also when using holesaws, you might want to do short and quick thrusts on the wood [many of you are using this thrusting technique with your wood, I know]. Pushing longer times will increase the chance of charring the wood and the holesaw getting caught on the wood, which is a bad thing. Check the wobble of the guide bit.
On the outside, drill the following holes: [the holesaws make a 1” deep cut]
3” – drill all the way
1 ¾ “ – drill all the way
On the inside, drill the following holes:
3” – don’t drill all the way, around 30-40% only
2 ½ “ – drill all the way [the gimbals attach here]
The Tricky part…
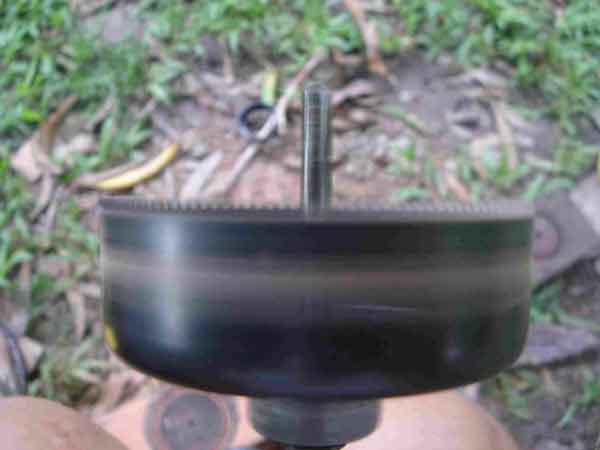
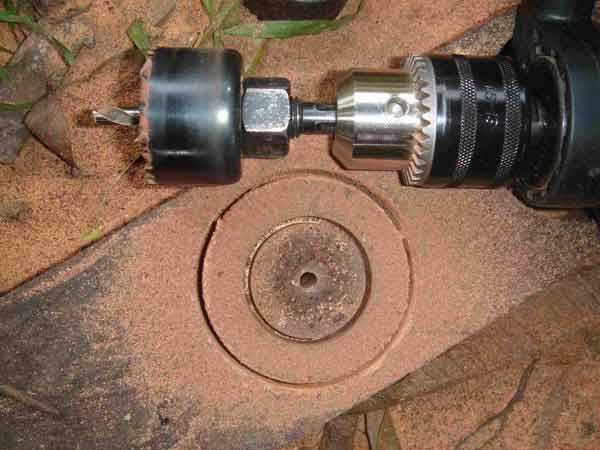
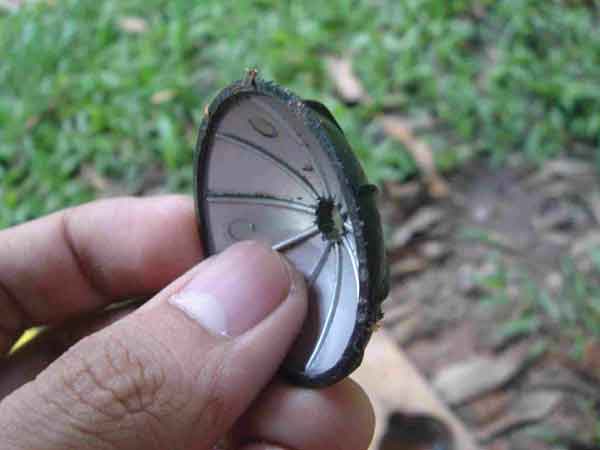
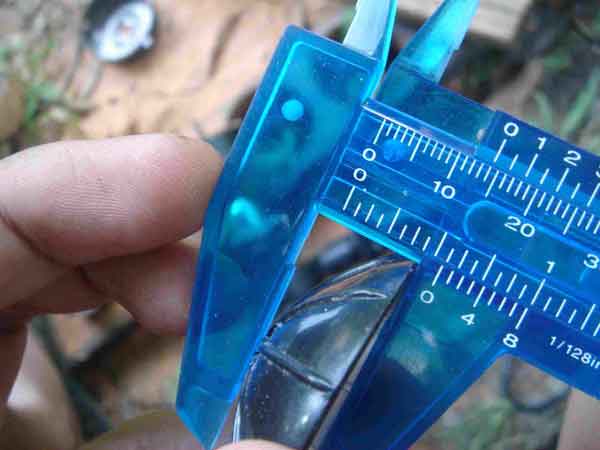
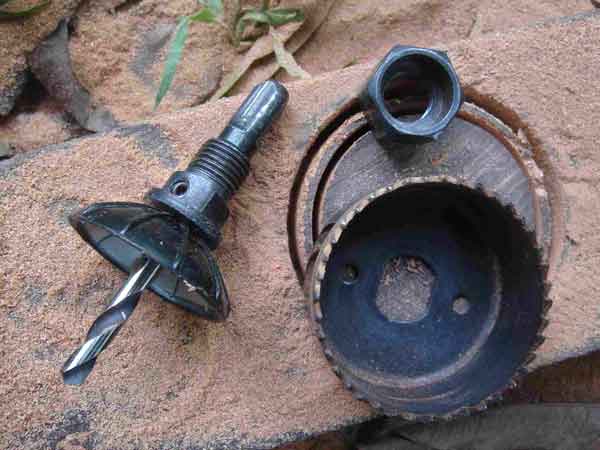
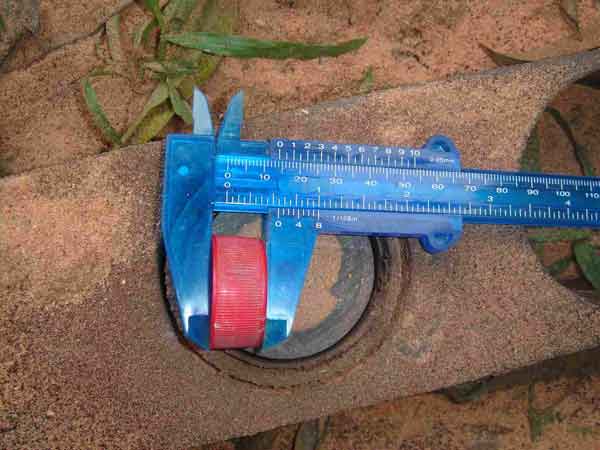
I want to make a sort of step to accommodate the foam pad or bowl pads so I need to drill a 2 ¼ “ hole saw but I need it to penetrate only about ½ inch. Thinking that the holesaws drill 1” deep, it need to chuck something inside there to prevent the saws to cut deeper than ½”. The next thing that I saw was some sort of disc from my younger brother’s toys. Its bowl shaped and is just about ½” thick, see photos below.
This successfully prevented the holesaws from cutting deeper than ½” so that minor problem is solved. I later found that plastic bottle caps are also of the same depth and may be used for this application.

