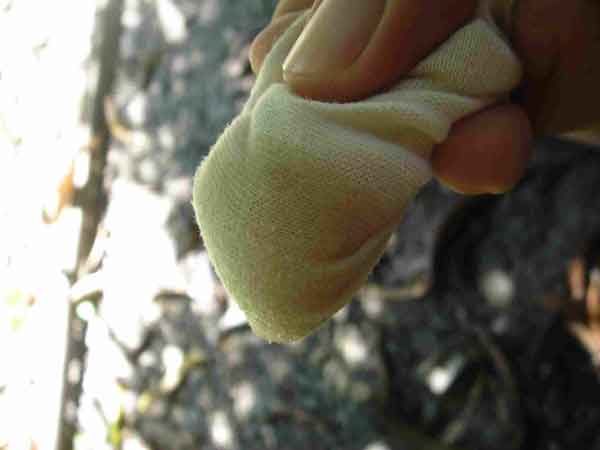
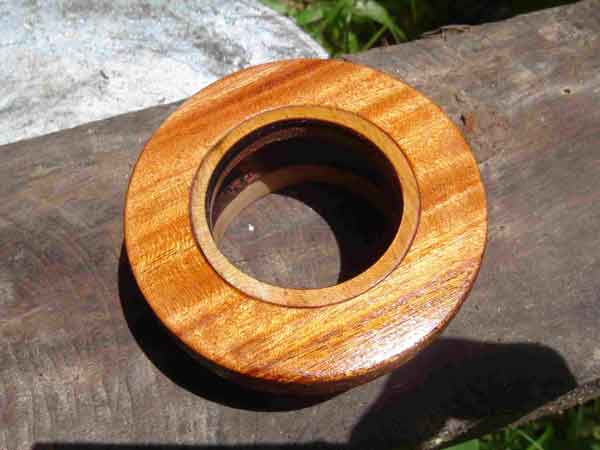
Varnishing/Staining
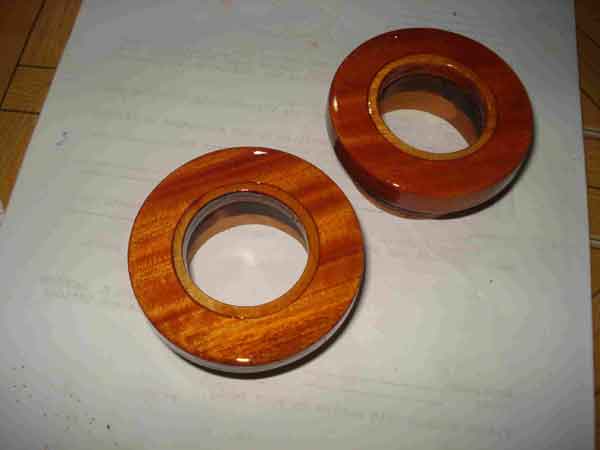
The woodies look very nice at this moment but I wanted to try out varnishing using the recommended 8 layers of polyurethane. The work pace got tedious as I have to wait for the coats to cure before applying another layer. IMO, the woodies looked very nice with only the oil stain on. I still got a few linseed oil left which I bought from a local carpenter for around ~P50 for a bottle (330ml) of it. Using a clean sheet of cotton cloth, apply an even amount on the chamber. Sun dries the chambers.
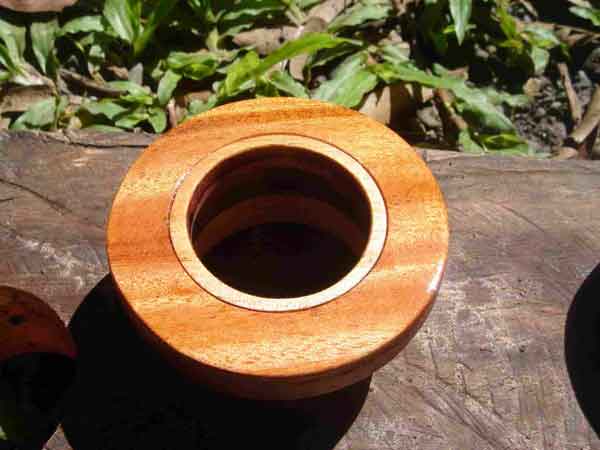
After drying the stain, the chamber is ready for the application of the first urethane coat. You may use other resources for applying polyurethane, but essentially it boils down to these few pieces:
1. Don’t shake the polyurethane can, we don’t want it to develop air bubbles
2. Use a small piece of foam to apply a thin and even layer of the poly, and blowing off some bubbles that could form during application
3. Dry the poly. The first coat is essentially sucked into the wood
4. Second layer might still appear rough
5. Third layer will show the small flaws in the sanding of the wood
6. Sand the coat using 320 grit sandpaper
7. Apply the fourth coat, dry and sand
8. Apply the fifth coat. The wood appears to be really smooth now
9. Repeat up to 8. I used a really thick 8th coat and it looks odd.
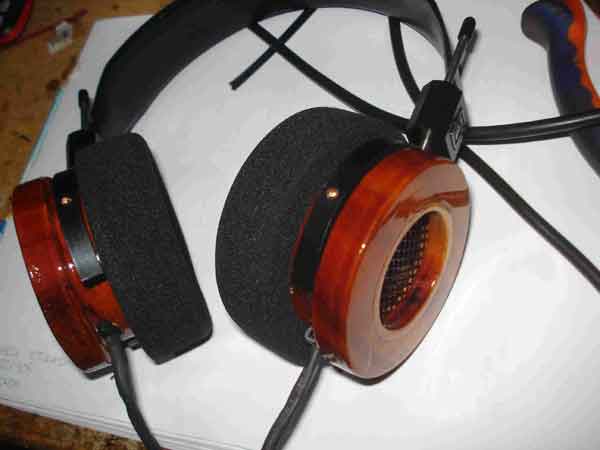
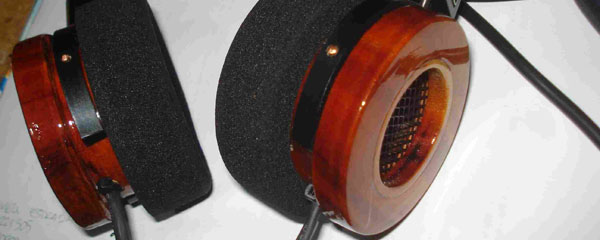
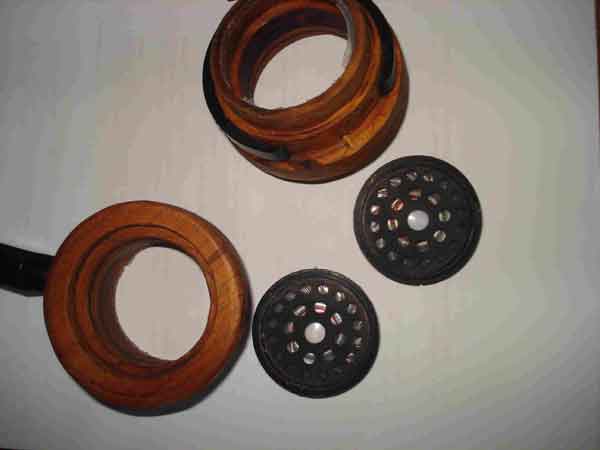
At this point you can glue the grill to the chamber. Holes are drilled to attach the chambers to the gimbals and for the cable inlet. The drivers are removed from the old chamber.
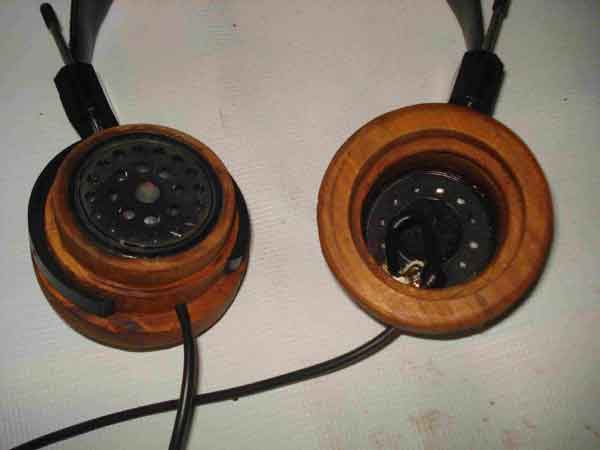
The cable is reinforced by heatshrink tubing and cable ties as stopper.
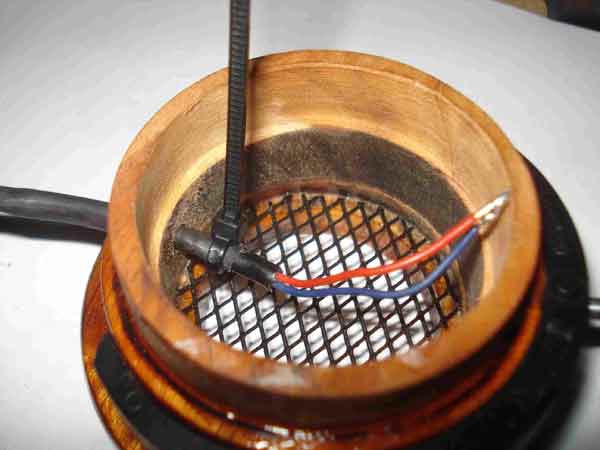
The drivers are fitted and glued in place.
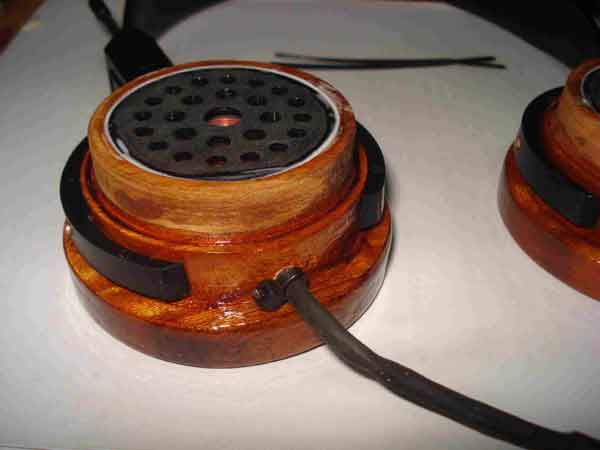
Glue is dried and the bowl pads are replaced. The woody is finally ready. If grado decides to make shiny RS1’s like what they did with the glossy PS1000, they might look like this: