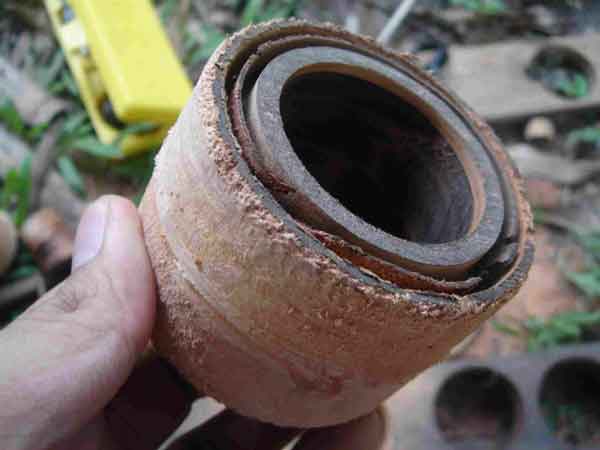
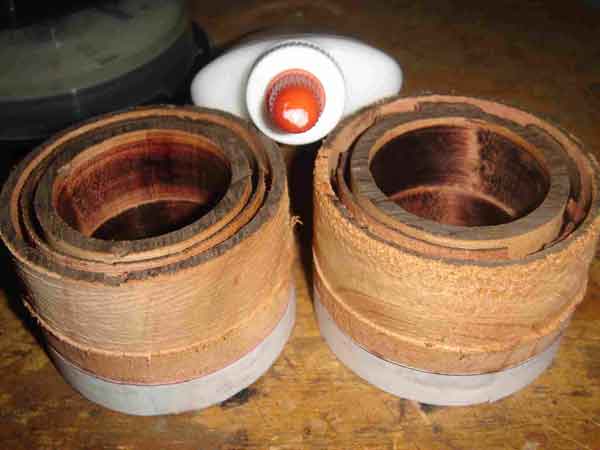
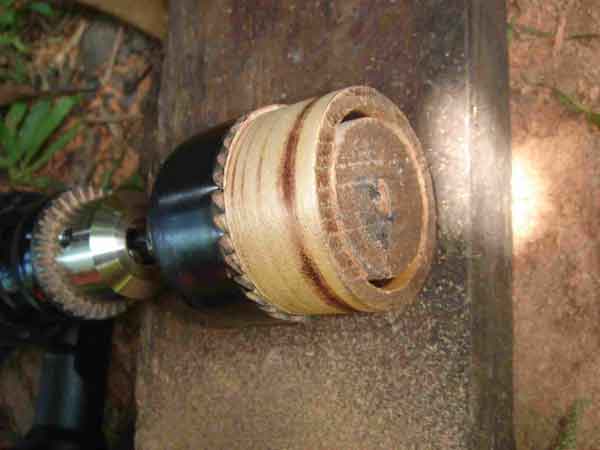
After that difficulty, you can proceed with cutting the “in” part with the 1 ¾” holesaw all the way. This should cut right through the wood as it will meet with the 1 ¾” hole cut on the other side. To finish the cutting, replace the 3” holesaw and cut deeper on the 3” hole on the “in” side. The reason why the first cut was not done “all the way” is that you want the chamber to stick to the wood to cut out the inner holes before cutting the chamber off the wood plank. Now we have the rough chamber.
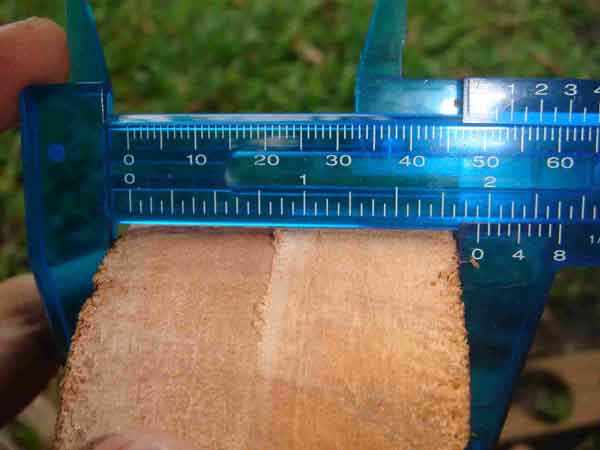
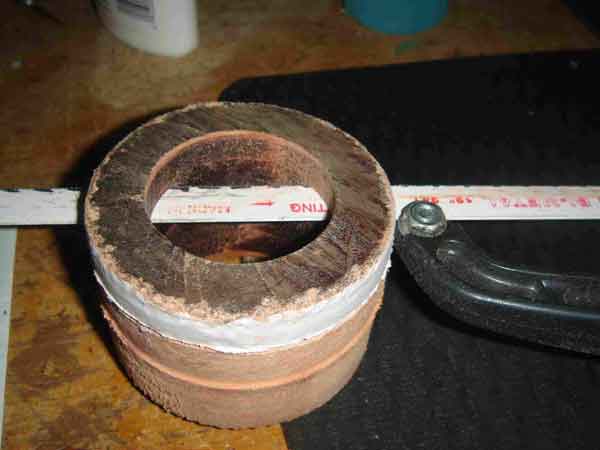
I only had 2” thick wood, which is bad news because I need to use only 1 ½” of it. So I need to cut it using a hacksaw. This is an unnecessary difficulty which could have been avoided if only I had a 1 ½” wood.
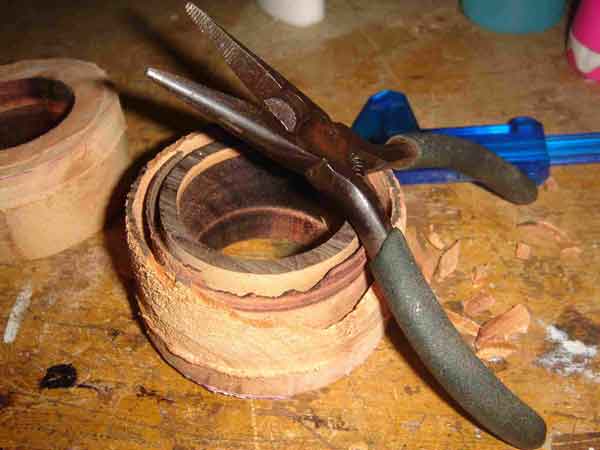
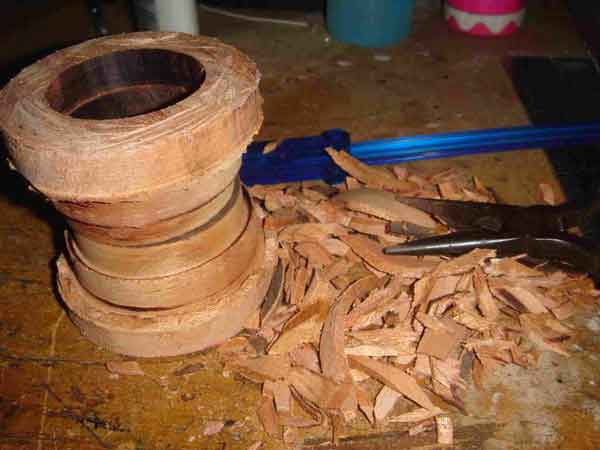
Now using a long nosed-pliers, chip off the outer sheets of wood.
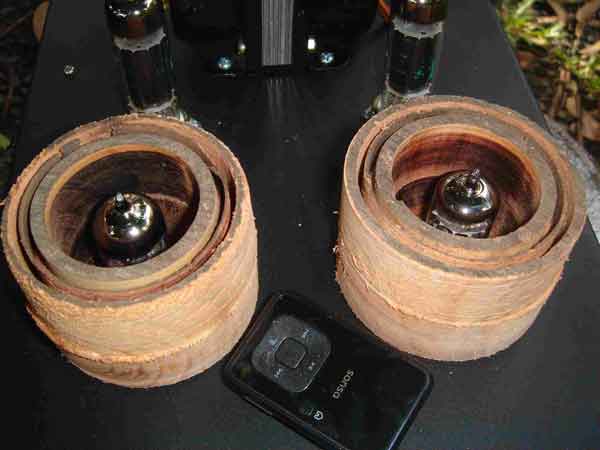
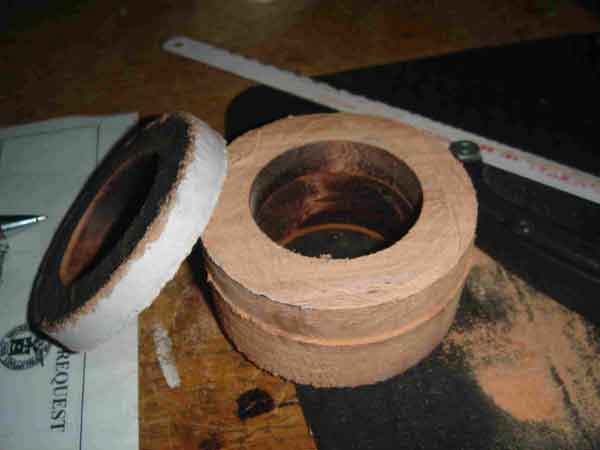
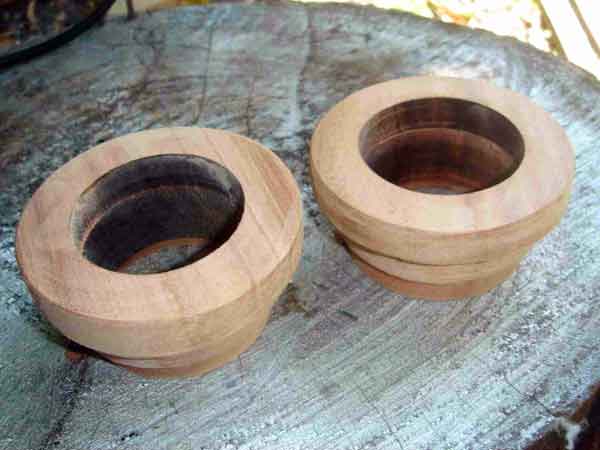
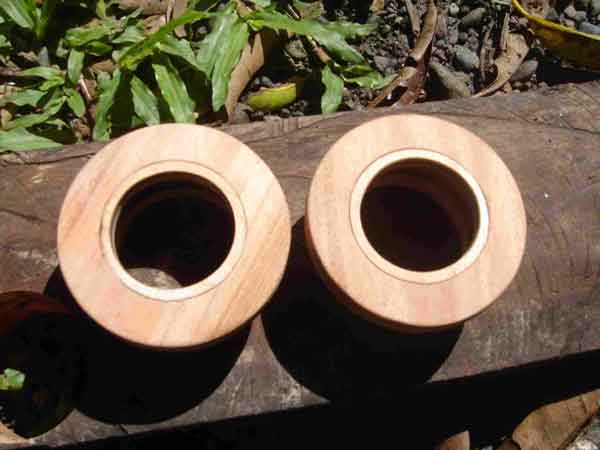
Now I need to sand down the chambers.

After tons of wood dust covered you, the chambers should be ready.
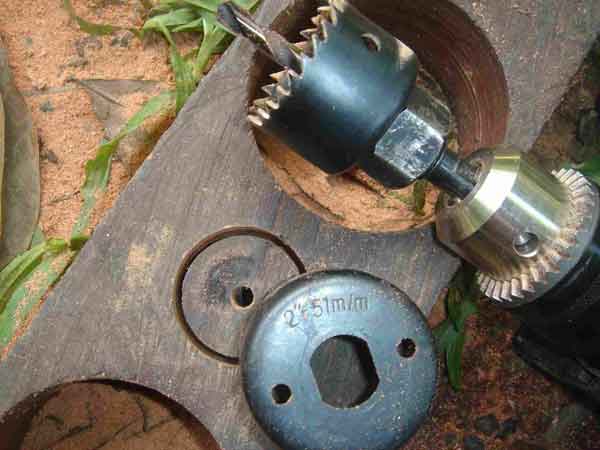
I wanted to make wood rings for the grill. Using the 2” and 1 ½” holesaws I cut a small column of wood and use the hacksaw to make rings to fit in the chamber.
Now for the grills. A sidecutter was used to snip off the grills.
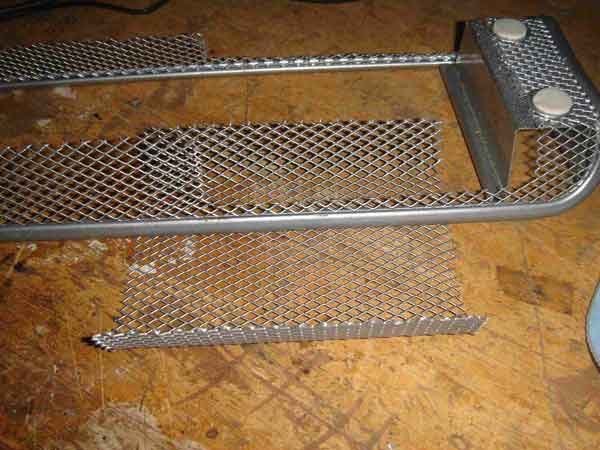
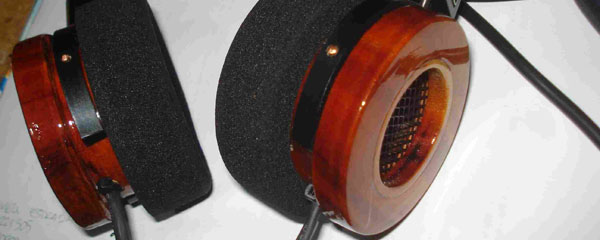
I also painted it back because im not a fan of silvery grilles.