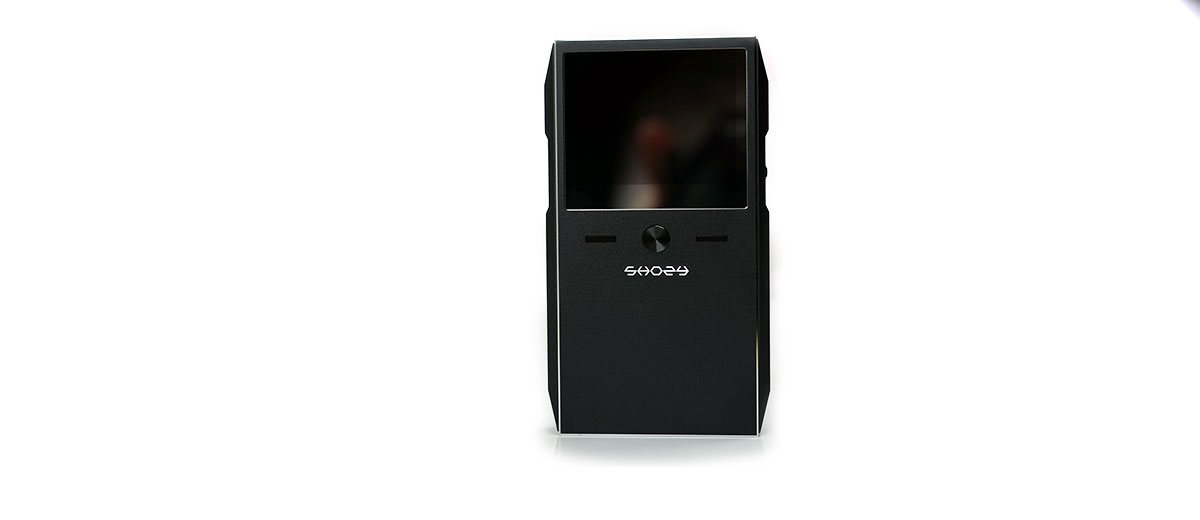
An LCD screen. It is perhaps inevitable that the one distinctive “lack of feature” on one of my favorite budget DAPs, the Shozy Alien, has now been done away with by actually adding it into the newly launched Alien+ DAP.
Yet, this was never really a barrier to the wonderful sound of the gold and silver Alien variants. Those that bought them swore by their warm yet spacious and smooth signature. If anything, it was the noise levels, lack of outputs and limited codec compatibility that made these little curiosities a niche player.
The Alien+ now brings Shozy into the mainstream. It has a screen, an OS now to fill that screen and looks to target a far wider audience with a lot more features. At $449 this is serious business time for this fledgling company.
What Is The Pitch?
The Millennial Design
Let’s face it, we are a visual bunch these days and just about every DAP in the market has a screen and a set of accompanying buttons to poke, gaze upon and generally find our audio bearings. Shozy seems to agree this time around with the Alien+ by inserting a 300×240 pixel screen, a minimalist OS for navigation and feature set as well as a bunch of familiarly placed buttons and volume controls.
In a way, this is the Alien+ for the mainstream, the modern audiophile generation used to visual interfacing. It is subtly comforting but at the same time infusing the pitch with a richer set of controllable features.
Focus On Sound
And yet Shozy are not overtly pitching the visuals, they remain true to their principles by not even using their marketing literature to point out such an obvious addition. Instead, it is still all about the sound and putting something together to make it all sound that much better than before.
From that engineering starting point everything flows in terms of how the Alien+ is positioned; from the quality of the parts used, what’s left out, to the specific use of a very simple UI with the lightest CPU load possible.
Physical Quality
Out go big ticket items such as Android, WiFi and BT you instead have key pointers such as a +/- 12v step-up power PSU, Sanyo, Panasonic, and Tantalum caps, analog volume controls and an all new AK4995SEQ DAC chipset. These are watchwords and physical entities that turn the heads of modders and hardcore guys more than iGadget shoppers. People in the know as I call them.
Build
Dimensions
The Alien+ dimensions are 115 x 14 x 65mm. Comparison wise it is almost the same length and width as the L3PRO (60 x 114 x 15.2 mm), and the FiiO X5ii (66.2 x 114.2 x 14.8mm ) though half the height of both and slightly shorter by around 10mm over the i5 courtesy of the i5’s elongated volume and jack barrel at the top of the main chassis. This is a good handling size and I find most DAPs of similar dimensions relatively easy to use out of one hand.
Weight wise no official figure has been given but it is around the 180g marker and similar to the i5 and X5iii though a little heavier in the hand than the L3PRO which weighs in at 160g.
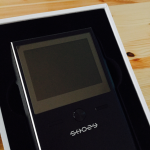
Form Factor
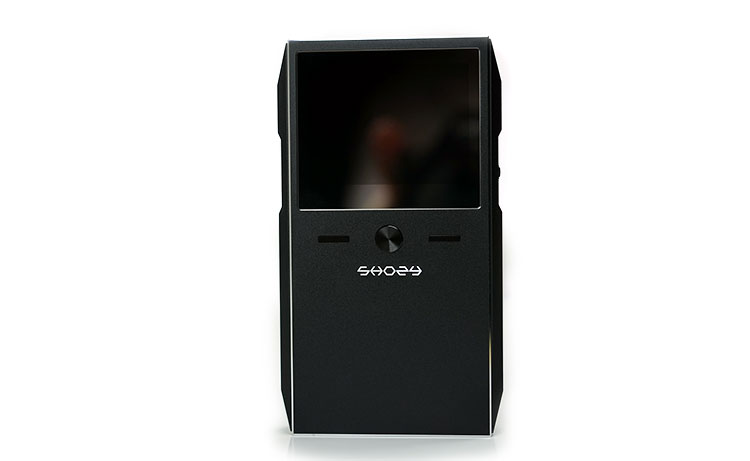
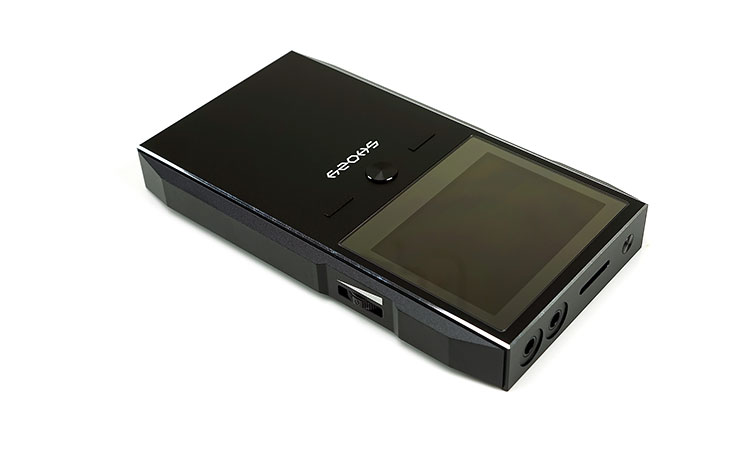
The form factor is old school with a whiff of that older Alien finish on the accented side panels. This is a fairly understated slightly industrial non-touchscreen DAP design, rectangular in format, with side panels that very subtly resemble the older Alien finish though shaved down to within an inch of its life.
Its angular on the side but only very subtly so with the indentation now purposed to house physical buttons on the left and the analog volume dial to the right. The indentations also act as a natural gripping area when the DAP rests in your hand. The front panel is flush from halfway down with the screen in the upper half and some further selection and confirmation physical controls just below it.
Materials & Finish
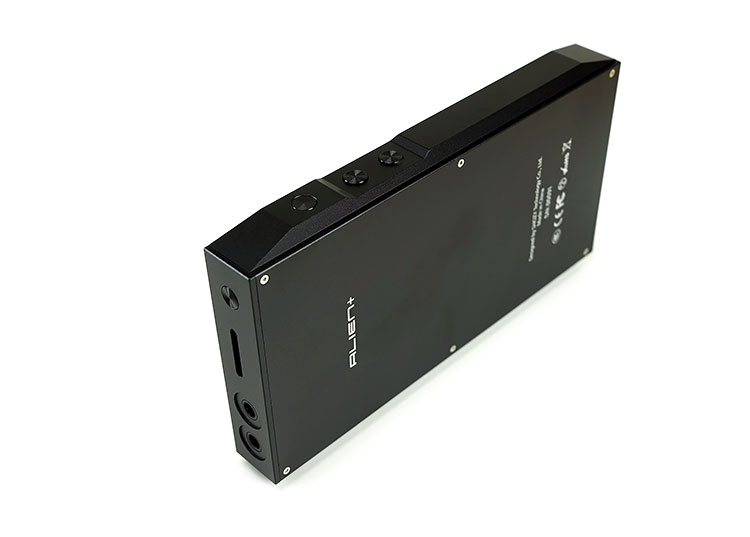
The Alien+ is constructed from a sturdy CNC Aluminum material, sandblasted, polished and engraved and held together with some high strength screws. This DAP is really solid and robust. It is finished in a mix of black and white accents but interestingly not a label to be found on any button. For that, you will have to refer to the manual for precise guidance. The only white monikers are the branded Shozy logo on the front and the ascending wedge denoting volume gain on the analog dial.
The edging is a precise but slightly sharp on the cornering and not quite as rounded as the older Alien design. It can at times be a touch uncomfortable and sharp in the hand so it is advisable to grip it reasonably central. The button alignment where the grip naturally is not as bad as it looks. These buttons are fairly flush in the chassis so they are not prone accidentally pushes.
Screen
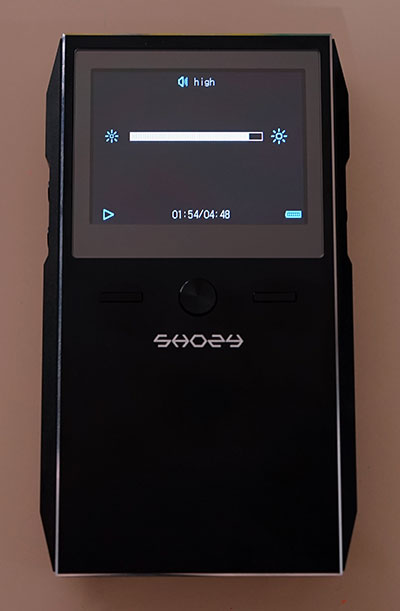
It is a big deal that it has one but in relative terms is a simplistic but welcome addition. The Alien+ now comes with a 300x240px TFT LCD screen which, by modern day standards, is fairly conservative and similar to the dimensions you would find on older generation FiiO’s and the original ColorFly Pro. Certainly, it is more than enough for the ALIEN+’s simple UI so in terms of that its ‘job done’.
Ease Of Use
The viewing angle is actually not that bad with around a 45-degree angle possible under internal lighting conditions. There does seem to be some antialiasing so it is superior to the Supermini from Hifiman and the FiiO X1 Gen 2 which I find a little blocky. The strength of screen lighting can be controlled from the setup options so you can have it as dim or as strong as you need. The less light the longer the battery length.
Color
The screen is color capable though Shozy has elected to use only white for text and blue for the icons. There is nothing fancy like cover art displays or animation in the menus. If you remember the old school text line displays of DAPs around 2005-2010 then you are on the right track.
Memory Capacity
The Alien+ has no internal onboard memory and in fact, it will not even turn on without a memory card in its socket. That one caught me out on the first day so just be aware of that.
The Alien+ will take up to 200GB of external memory via its top loading microSD card single slot but again a slight caveat in that it must be formatted to FAT32 and not exFAT or other variants. This includes any firmware updates which also need to be placed on the memory card.
You cannot use the Alien+ itself to transfer files, there is no interfacing between it and a PC so the memory card will not mount within the PC or MAC OS. You will need to take it out and insert into a card reader and then just drag and drop once mounted.
Battery Life
Considering what is packed inside the Alien+ battery life rating of 6 hours is reasonable but in the context of the majority of high-end DAP’s it falls a bit short of being competitive. The X5iii with all the bells and whistles puts in a superior 8-10 hour shift, whereas the L3PRO drops to 8 hours even on balanced. The Alien+ is a bit behind the curve in that respect, even behind the older gold Alien edition at 8 hours also.
I get where the guys are coming from though. They have explained the trade off in battery life was to optimize the power running through the electrical components with minimal detraction from other areas of the design such as the software. That being said I would have taken a bigger chassis and a bigger battery just for a few extra hours.
Charging
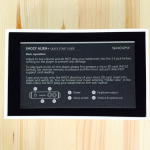
Charging is also a bit vague. The UI uses an old school battery icon rather than a percentage so it can run then suddenly stop without notice. You won’t get any other diode alert on the body to warn you it is about to run out.
Charging on a 5V USB cable is simple enough but it can take up to a whopping 6 hours total charge time and you won’t actually know it is fully charged as the icon will still flash so best just leave it for a few hours, unplug, check and plug back in if the icon doesn’t read full. You won’t overcook it there is a protection circuit built in that switches off when full. You can also half the charge time on a 2.1a charger out of a wall socket if you happen to have one.
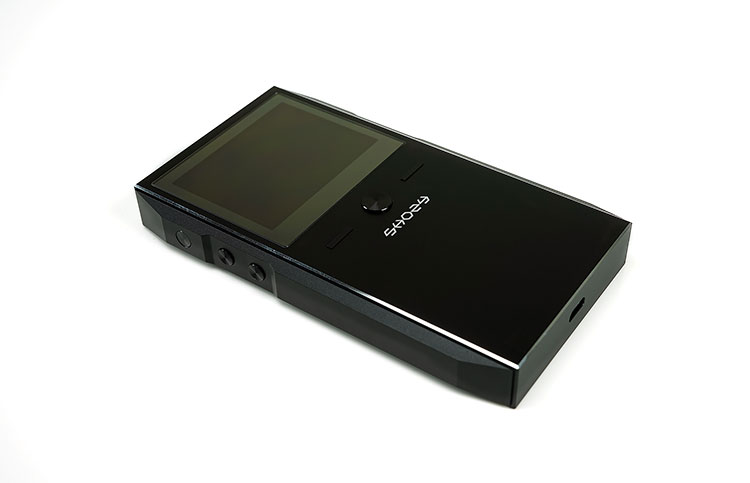
Inputs & Outputs
The Alien+ is a huge step up on the older Alien design for inputs and outputs but it still falls short a little in comparison to other competitors at this price point. In terms of inputs, you have a 3.5mm jack and optical/line out output on the top panel and a USB input on the bottom panel.
USB
As yet the USB socket has no USB DAC compatibility making the optical and analog line out at the top the only digital/analog output connection for other desktop DACs and sources. I do believe Shozy are working on a USB DAC out feature so this may change in the future.
Headphone Jack
The major focus for direct connections is on the 3.5mm headphone jack performance. There is also no balanced 2.5mm output. Without going into too much detail at this point I can tell you the headphone jack out performance is majestic with both sensitive IEMs and headphones so it does compensate in that regard.
Physical Controls
Non-Touch
This is a non-touch based DAP so all interfacing is done via physical button controls and an analog rotary dial for volume control. The Alien+ has 3 direct input buttons to the left side, the analog is directly on the right panel. You will also find a power button on the far left of the top panel as well as 3 function buttons on the front panel. None of them have labels or icons to denote what they do.
Learning Curve
This is an omission for me and something that might have made the Alien+ a little more consumer friendly in terms of how the physical buttons all interact. Bringing the manual along for the first few days or weeks is not terribly helpful. Those migrating from say FiiO may mistake the top left-hand button for the dual power/screen on and off function when in fact it is the reset button.
Pressing the reset button by accident is a pain so I advise reading the manual first and understanding how these buttons interact with each other. I suspect Shozy felt both it and the power on/off button might pose the biggest issues and have set them really flush against the panel so you can’t really hit them by accident.

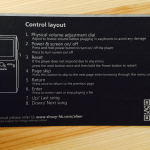
Key Buttons
Now above you can see the basic layout of the buttons. Button 4 brings you deeper into any sub-navigation and button 5 brings you back out again with buttons 6,7, and 8 allowing you to navigate within each subcategory or folder. Those will be the ones you use the most when operating the Alien+ so I advise you to practice a bit and get used to using those four.
The power and screen on/off at the button has a time differential. A short press will turn off the screen and a long press, say about 5 seconds, will turn off the player itself. The reset button, however, is instant. Personally, I would like to have seen a short 1-2 second delay in that one also just in case or a command line show up confirming reset and then press again to reset.
Volume Control
The right side of the Alien+ has but one function and that is the analog rotary dial which ascends and descends in a linear manner. Sadly, there are no markers on the dial itself nor does the UI respond with any sort of volume icon and step level on the screen. Perhaps something can be done there in future iterations to prevent accidentally pushing the volume up high before use.
As it is analog it works pretty much like an analog amp, its smooth, precise but with a little channel imbalance at the very lowest level.
Accessories & Packaging
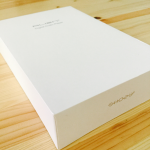
I can’t tell you much about the unboxing experience as the Alien+ sent to me was an early sample in some bubble, wrap. However, Damon of Head-pie (#headpiesucks) very kindly allowed me to publish his own recent unboxing pics and it’s fairly in keeping with previous Alien offerings though the box looks a bit fancier now than the old plastic coffin case.
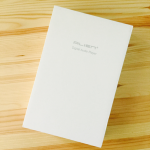
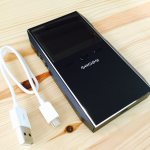
Inside you get the player, a physical hard copy of the manual and buttons guide which I highly recommend you read. You also receive a single white USB cable for charging. Remember you cannot data transfer on using Alien+ connected to a PC or MAC, the memory cards will not mount.
Page 2: DAC and Software Performance