The Build
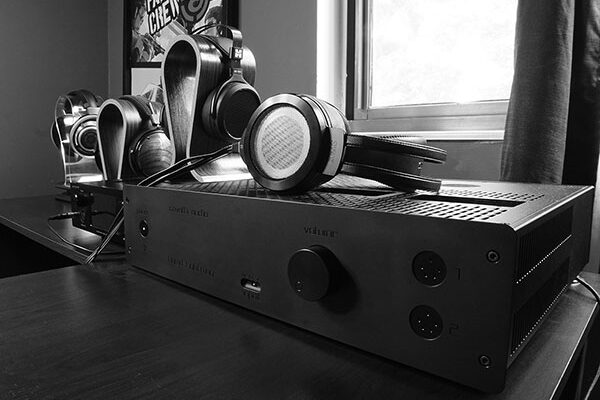
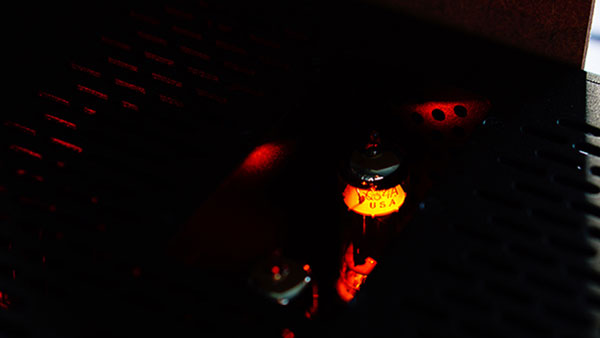
I must say, the build quality on this machine is nothing short of incredible. Housing one of the most solid and sturdy exterior designs I’ve ever witnessed any amplifier of any type, Cavalli’s LL2 gifts class and style in the utmost sense of the word with an all metal chassis. I found myself dreaming often of glowing tubes through a darkened mesh like material, plaguing the back of my mind each night as I try to lay in bed. I find the overall exterior design extremely artistic and beautiful, something I want to brandish on my desk at all times and stare at relentlessly as my eyes become lost in the void of the deep luminescent coloration each tube exudes. It looks like candy sometimes…I want to eat them. Probably shouldn’t try to eat the glass tubes…
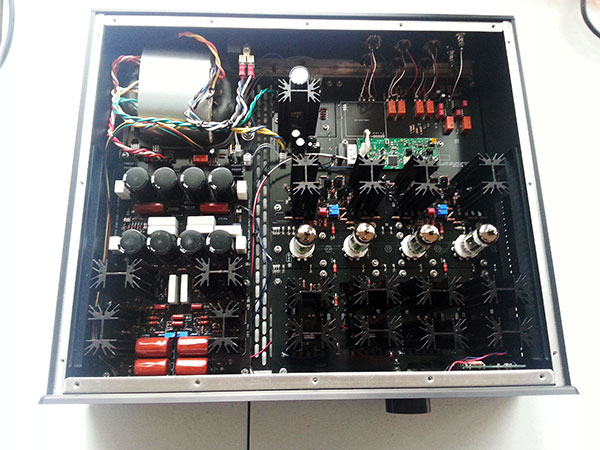
Machined metal adorns the unit with ½ inch thick rear panels, a ¼ inch machined and engraved front panel and lastly a 3/16 inch rear panel. Formerly and in earlier versions, the volume pot had been located near the back of the unit near the inputs, connected to the volume knob via a shaft that ran the amplifiers entire length. Now, this type of layout is no longer needed, Alex has mounted the control pot directly to the rear side of the front panel, which in turn is wired to the volume control board in the back of the input section. Output CCS’s have also been slightly tweaked to hold a consistent current to higher frequencies, as well as a more simplified power supply implemented inside of the now smaller allocated board space.
I asked Alex what truly went into the design and implementation of this new amplifier, as well as why he felt a new version was needed:
“This is not really a new version so much as an evolution/combination of previous versions. I had already decided that I would offer both SS and Tube Hybrid estat amps. Once the LL2 was solidly in production I designed and built the Tube version, temporarily called Liquid Silk. As I was thinking about the Silk’s production I realized that I could design a single chassis for both amps and use many of the same components (such as HV transformer, PS board, input and volume control, etc.). At this point I redid the boards for both amps into a modular set of boards that would allow me to offer both amps, either one selectable at purchase, in a way that I could manufacture them from the same basic starting configuration.”
I also asked Alex if he could shine a light on any specific components used inside of his creation:
“I believe that most of the sound of an amp is in its design and not so much in its components providing that you use intelligent selection of good quality components from reputable manufacturers. None of my amps uses boutique components to achieve its sound signature. This is true of the LL2T. I use specially selected HV Mosfets for the HV active devices. These are chosen for their minimal capacitances. This is different from other estat amps which principally use BJTs (at least any one that I know about). Mosfets are generally more durable than BJTs, especially with respect to operating temperatures. The rest of the components are recognizable to anyone who has built amplifiers, Vishay resistors, Wima capacitors, Panasonic or Nichicon elecrolytics, BJTs from well-known suppliers such as Fairchild or OnSemi. The power transformer and piezo power switch are custom made. The modular design of this amp, including modular boards, I think is unique for an electrostatic amp.”
The Setup
I will be using my own Stax 007Mk2.5, which is a revision of the original 007 that was tweaked and modified just a little to provide a more forward sound signature, as well as to offer a bit more bass quantity. I was never fond of the locale’ of the original 007, it wasn’t until I’d heard this version that I was extremely interested in purchasing it for myself. I had the 009 on loan for a short time but was forced to send it back before I felt like enough time was spent with it. Understandably, I was very lucky to have someone nice enough to loan a $5000 headphone to me, someone they’d never met before. Well, I could be a mutant offspring of a cosmic deity demon or something, hellbent on burning his 009 and letting my kittens nibble on it. Scary thought…the kittens thing I mean. I need therapy now.
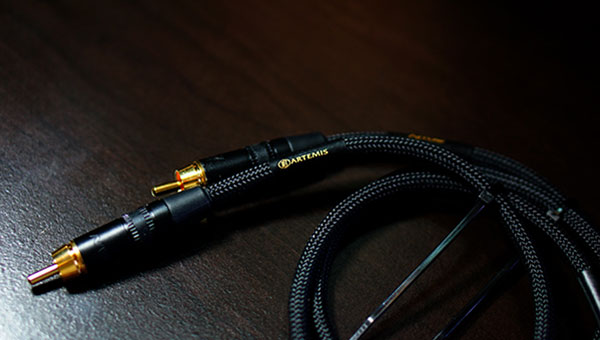
Artemis Cables provided me a wonderfully hand made RCA to RCA interconnect setup, one that I feel merits a story. I own a number of interconnects and felt perfectly happy with very cheap products for this type of thing: Monoprice. When I’d been asked to review Gibsons Rokkit 8 inch speakers recently, the company didn’t supply me with any interconnects and really gave me an awful experience with their support team. So, I’d tested out my trust Monoprice cable and noticed a ton of hiss and static. Static would appear more intense the closer my hands got to the cable itself, but would instantly get quiet upon me grasping the cable slack. I found this highly strange, so I contacted Gibson to ask what was happening. Naturally, they thought it was a cable issue. Turns out they were right, after testing a number of long interconnects ( 10ft and beyond ) the static, noise and hiss through theses speakers were extremely annoying and ever present. It wasn’t until I’d asked Artemis Cables ( who has been supplying me with some custom cables recently ) that I’d been able to test the RCA interconnect on this speaker setup. For control testing, I also made sure to get some shorter Monoprice and other brands, all of which also had some hiss and static through these seemingly extremely sensitive speakers. Low and behold, the Artemis Cable RCA’s were dead quiet with no hiss. I am no cable expert, but this was incredible news for me, since Gibson wanted these speakers back asap and I’d already invested too much time and my own personal cash into funding cables for these speakers.
Artemis is run by Timothy, whom crafts some of the nicest feeling and aesthetically pleasing cables I’ve yet come across. Excellent pricing and customized styling, so far all of his custom work has been extraordinary. I believe that interconnect material type plays a huge role in the sound signature of your audio experience, everyone knows never to recable a Grado headphone with a silver cable. In my experiences, the tone of Artemis’s JH16 cable and other few interconnects they have crafted me seem to alter the tone for the better. Hard to objectively say clarity differs, but I am a firm believer in general tone and noise improving or changing for the better depending on the quality of the shielding, cable length and certain other factors in the design. Seems like the longer cables are more prone to hiss and static. Anywho, I am glad to be able to have some customized and properly shielded cables at long last. Great job to Timothy, he does great work. These RCA interconnects were made from his Arrow line, which are hand crafted and cryo-treated.
Unfortunately, I wasn’t able to land myself a set of balanced XLRs to bridge my Dacs to the Cavalli LL2. My impressions are purely based on the single ended input switch being active.
Click here for sound impressions…


